GUIDE TO CLEANING MOTORHOMES, CARAVANS AND CAMPER VANS
It doesn't matter whether you are a short trip maker or a motorhome/camper van owner; in both cases our vehicles are our home, and knowing how to maintain and clean them is an important issue.
Now that we are at the beginning of summer and many of you will probably be travelling soon, it is time to get our motorhomes ready before we hit the road.
So we are going to try to give you a series of guidelines to help you keep the exterior and interior of your motorhome in optimum condition for longer.
First of all, and as is always the case with everything related to caravanning, we have to ask ourselves which is the right place to carry out this cleaning. Obviously, cleaning the outside of our vehicle can pollute the environment and cause problems that we can avoid by looking for a special washing area for motorhomes.
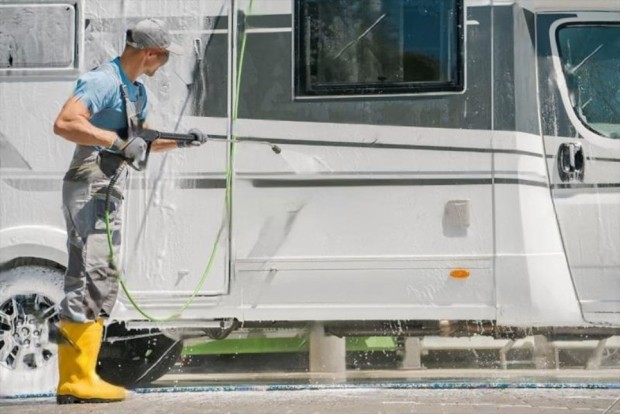
There are companies that are dedicated to it or that have this service, and they have a certificate of suitability of their cleaning products as suitable for motorhomes. Their staff are qualified and have the necessary knowledge to ensure that we don't have to worry about anything other than picking up our vehicle in perfect condition.
Truck washes, however, are not suitable, as neither the products nor the brushes used are suitable, as they are too aggressive for the bodywork of motorhomes.
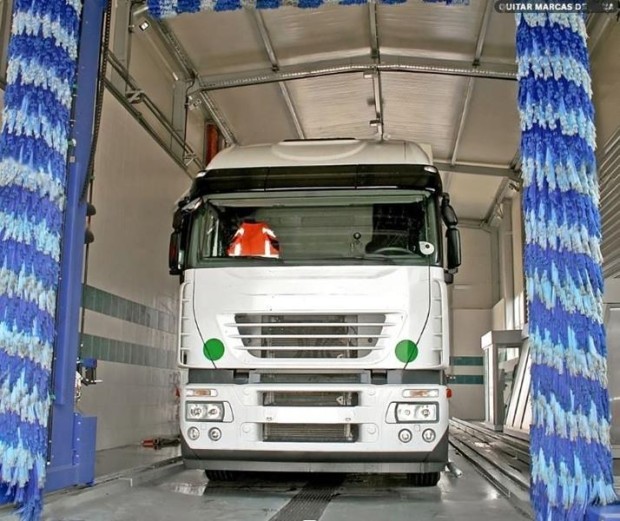
Other car wash companies offer suitable facilities to carry out this washing ourselves.
If this is our chosen option, the following should be taken into account:
EXTERIOR
- Take a look outside and inside before you start, this provides valuable information for choosing the best 'plan of attack' to carry out the task.
- It is essential that we know the material we are going to clean; not all motorhome roofs or walls are the same, nor are they built with identical materials. The choice of one product or another will depend on the material.
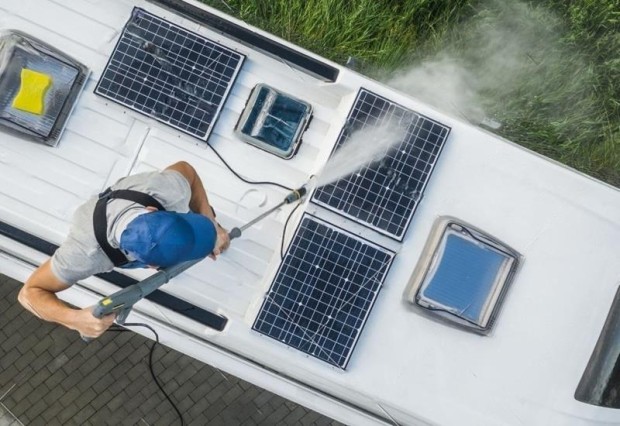
- Clean the exterior from TOP to BOTTOM. For the simple reason that as soon as you clean the roof, all the dirty water will flow downwards. We will continue down the sides, windows and awnings. This downward cleaning will end with the wheel rim cleaning.
- Do not wash or treat the exterior of the vehicle in direct sunlight, as this may cause discolouration or staining of the bodywork.
- Use special products for the different materials found outdoors. Here, if we are novices, we can take advice from the professional we buy them from or even from other users who share their experience in blogs and forums.
- It is also important to follow the manufacturer's instructions for cleaning agents to the letter, to avoid strong water pressure as much as possible to protect our motorhome from unwanted damage, and to use an efficient but gentle brush or sponge.
- Here we must insist on avoiding areas such as seals, ventilation grilles, decorations (vinyls, stickers, etc.) and the reversing camera. This special care also applies if the method used is not water jetting but a steam cleaner. In these cases we must be more delicate and use patience.
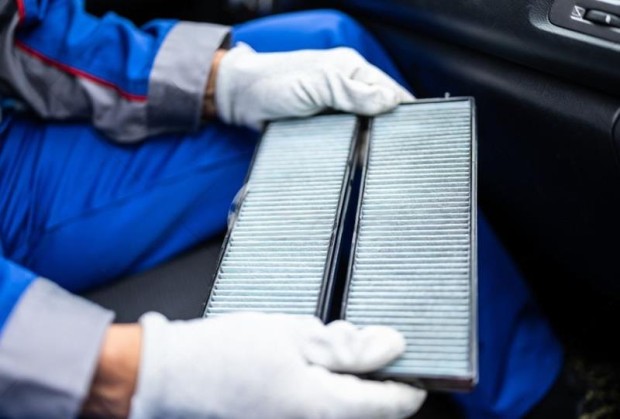
- Special attention should be paid to the windscreen, as a good view is our best asset to avoid accidents. We will leave the specific product to act for some time to guarantee a better cleaning.
- For acrylic glass windows, always use specific cleaners, as ordinary cleaners can cause the plastic to dry out, which will eventually lead to cracking.
- There is nothing better than clear water for the awning. We will only apply a special cleaner if the dirt is very persistent, and of course, let it dry completely before picking it up again to avoid the dreaded proliferation of mould. This applies to any textile in our motorhome, whether it is inside or outside.
INTERIOR
Here we have as many options as there are different interiors on the market. So the smartest thing to do is to follow the general instructions and advice given by the manufacturer.
But here is a short checklist that will help us in most cases:
- To carry out a good interior cleaning, we should take mattresses, cushions, upholstered seats, wardrobes and carpets outside. In this way we clear the area to be cleaned, ensure that dust is not deposited on them and, at the same time, we will be ventilating these elements.
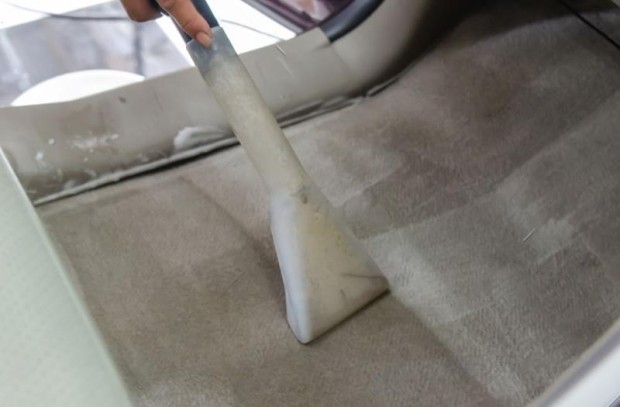
- Similarly, it is best to empty all storage spaces such as cupboards, drawers, hatches and compartments. This helps to keep things cleaner and at the same time, once we return them to their place, we can check that everything is where it should be and that it is in a good state of use. There is no point in storing a mattress inflator if we find that it doesn't work when we need it.
- As for the products to be used, we will apply the same premise as for the exterior. We must find out what material everything is made of and apply the right product for each surface. Using the "wrong" product can cause damage, stains or deterioration of interior surfaces. For example, plastics tend to yellow over time and this process can be accelerated if we do not use the right product. This is the case with toilets and other bathroom plastics, for which we recommend a cleaner for plastic materials and removing soap residue after using the sink or shower, as this residue is one of the main causes of deterioration.
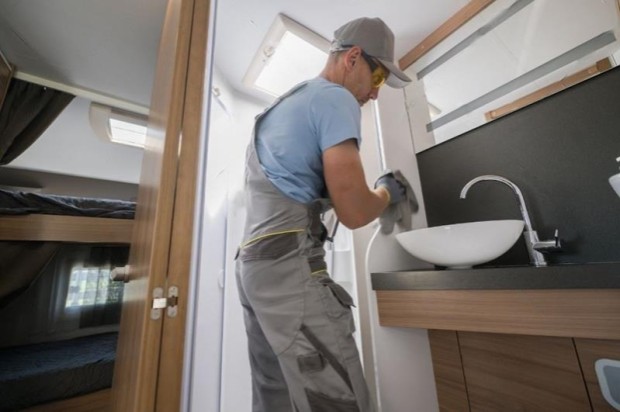
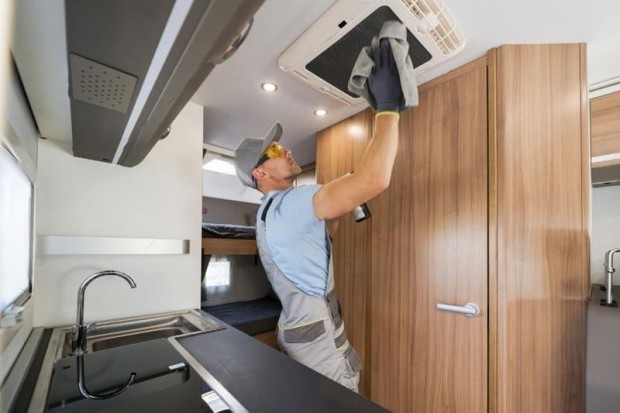
- Special mention should be made of refrigerators, including portable ones, as the hygiene of this element is particularly important. Careless maintenance can lead to a proliferation of mould that can cause serious health risks. That is why it is advisable to thoroughly clean the inside and also behind the cooling grille.
- And while we are in the kitchen, in addition to the normal cleaning after each use, we should look under the burner cover from time to time and carefully remove the dirt. This will extend the service life of our beloved cooker.
- The textiles mentioned above are also not exempt from the premise "it depends on the material". Cleaning leather upholstery is not the same as cleaning synthetic leather or fabric upholstery. The ideal is to first vacuum the upholstery with a hoover or suitable accessory and then proceed to a more thorough cleaning, either with a specific product, steam cleaner, etc... Our advice is to do this cleaning outside and, of course, leave it to dry completely outside, without direct sunlight to avoid damage or the sun "eating" the colours.
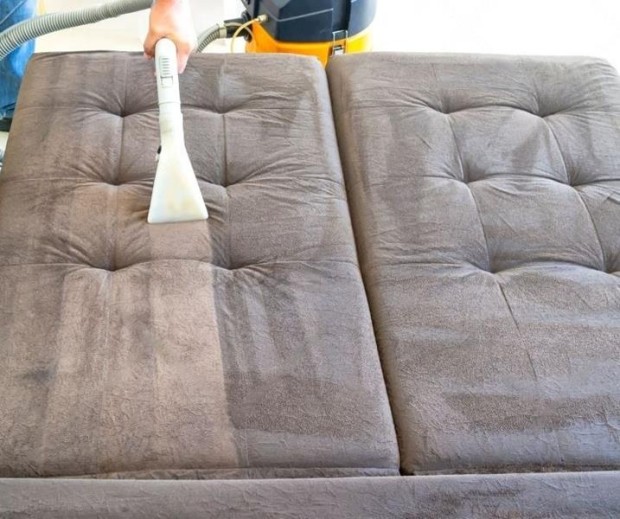
- Floors are also an important part, and a simple gesture such as keeping the entrance step clean will save us from damage to the interior, as often the grit or pebbles that are deposited on it end up inside and scratch or damage the floor.
- And last but not least, we must clean and care for the rubber on doors, gates, windows etc...to prevent them from cracking or crazing and to keep them functional and leak-proof.
Well, that's it, everything is clean and ready to go. From now on, with this guide, cleaning your motorhome will be a piece of cake. And of course, if your thing is the camper van or caravan, you can apply everything said so far in this blog.
Remember that, although it may seem like a lot of work, it is essential to extend the life of our vehicle so that we can enjoy it 100% for a very long time.
IMPORTANT TIP: we recommend you to do this cleaning also if your motorhome/camper/caravan is not going to be used for a long time. Long periods of inactivity without a previous cleaning can cause us more than one annoyance such as fungus proliferation, insect invasion etc...
And no, I didn't forget, we still have to clean the clean, grey and black water tanks. But for that I refer you to the previous blog entry, because this one deserves a separate mention for the specifics of its emptying. Come and have a look at it.
I would like to take this opportunity to wish you all safe travels if you are on the road this summer.
Enjoy yourselves!


